Kingdom Come Deliverance 2: Canker Walkthrough
 Vladislav Sham
In Kingdom Come: Deliverance 2, you will receive a task to help the centurion from Semin, who is opposing a band of robbers. This mission will not only allow you to develop your combat skills but also serves as an excellent opportunity to obtain powerful heavy weapons early in the game. In this guide, we will detail how to successfully complete the quest.
How to Start the Canker Quest
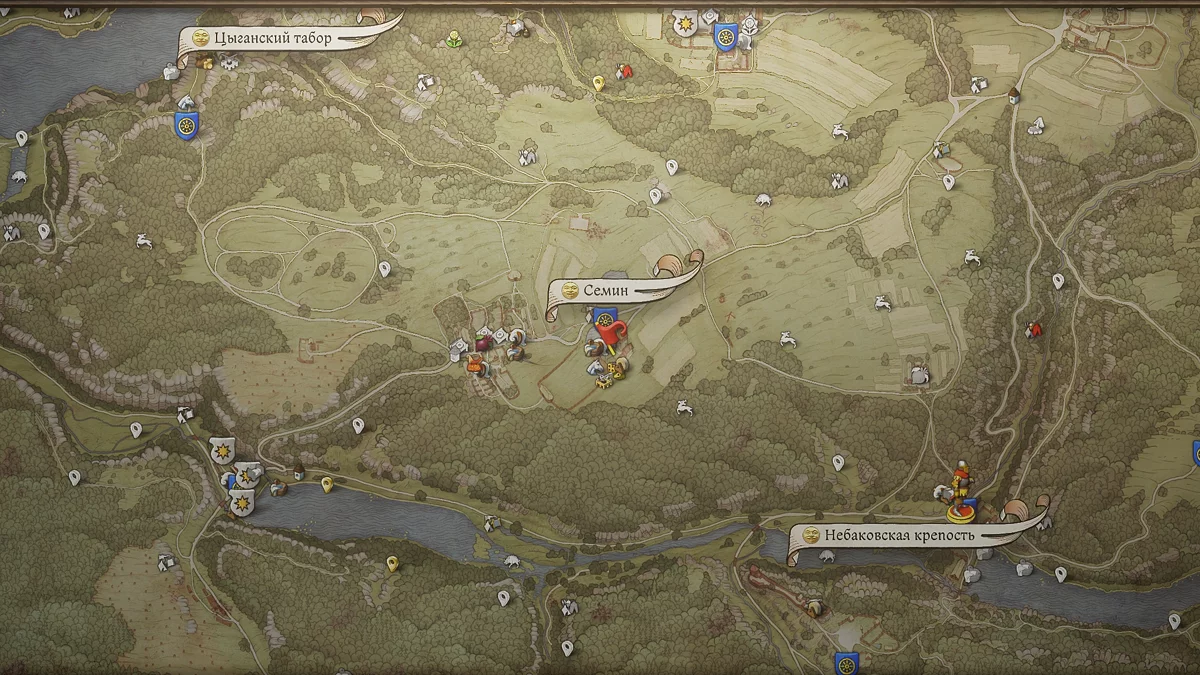
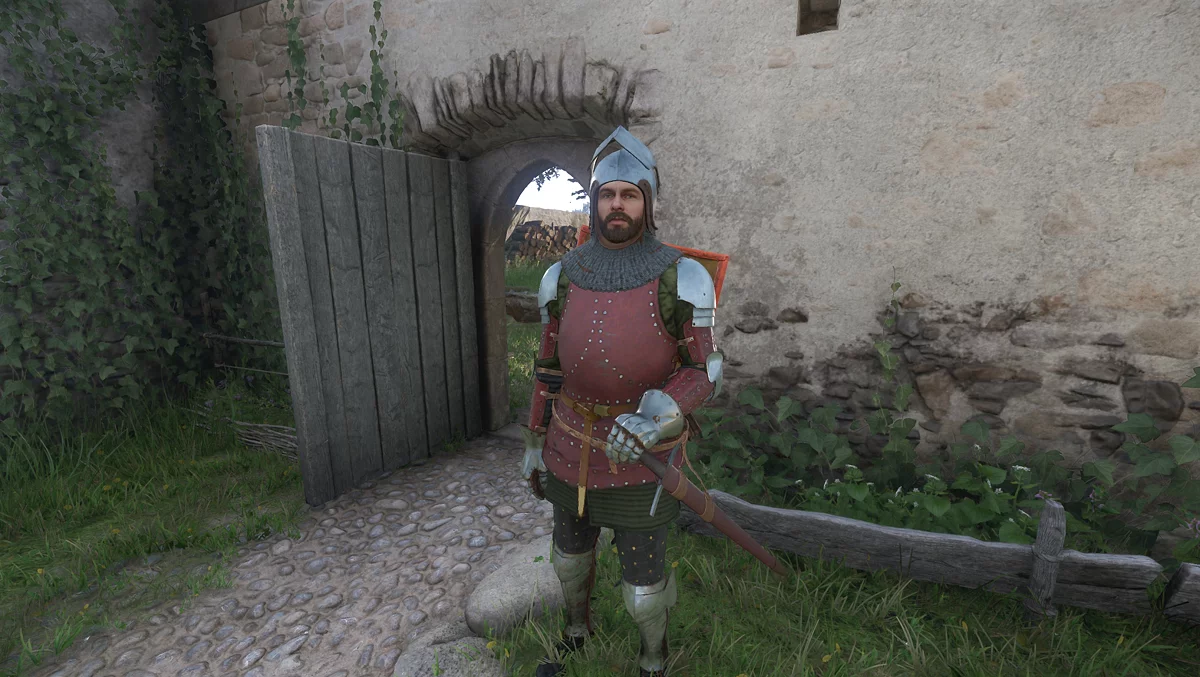
This quest becomes available in the Trosky region after you help the blacksmith and complete the The Jaunt quest. Head to the Semin fortress, where Centurion Rudy will be waiting for you. He will tell you about a gang led by a thug named Canker. The bandits, hiding in the area of the Nebakov Mill, disguise themselves as poor monks to kill travelers. The quest will begin as soon as you agree to help the centurion eliminate the gang leader and bring his mace as proof.
Find Canker's Camp
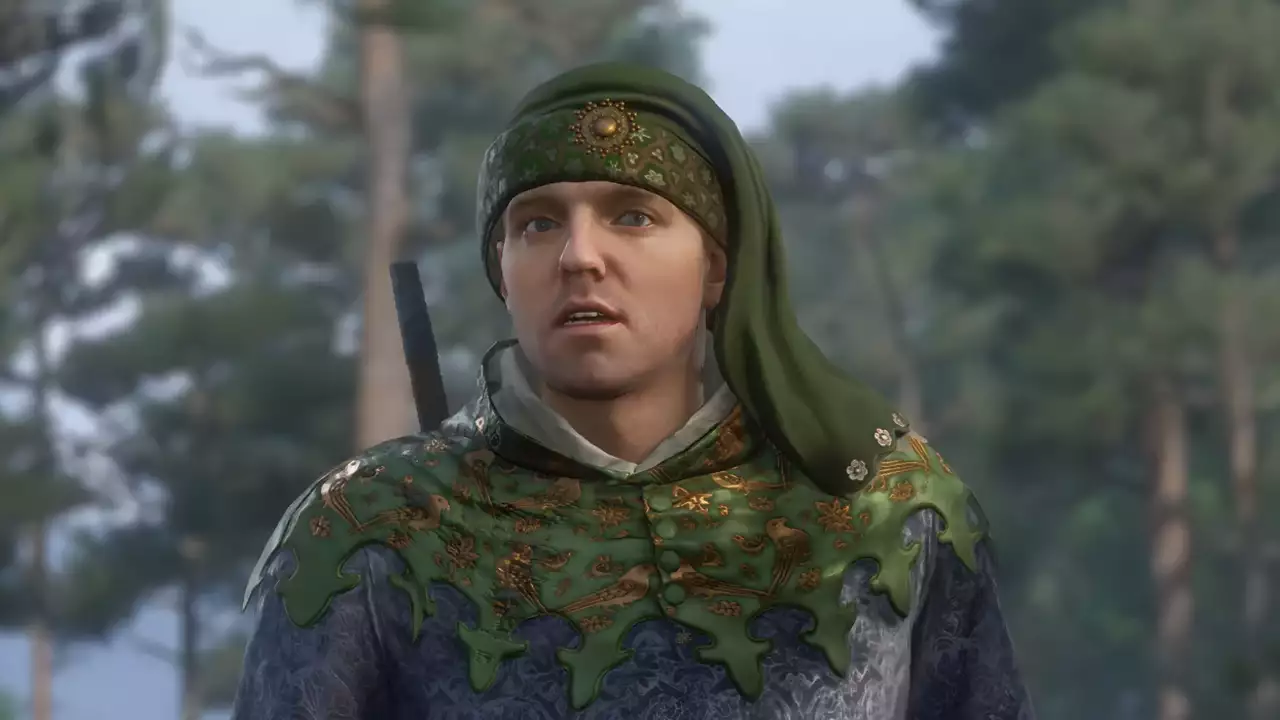
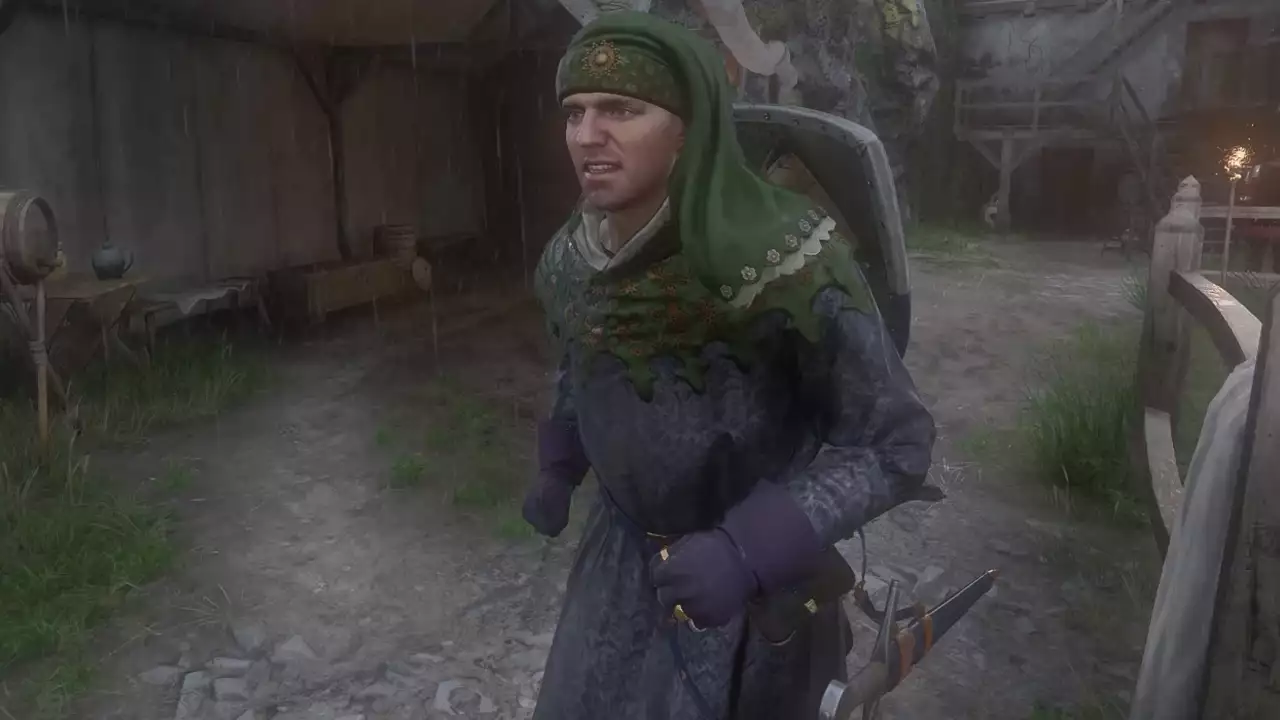
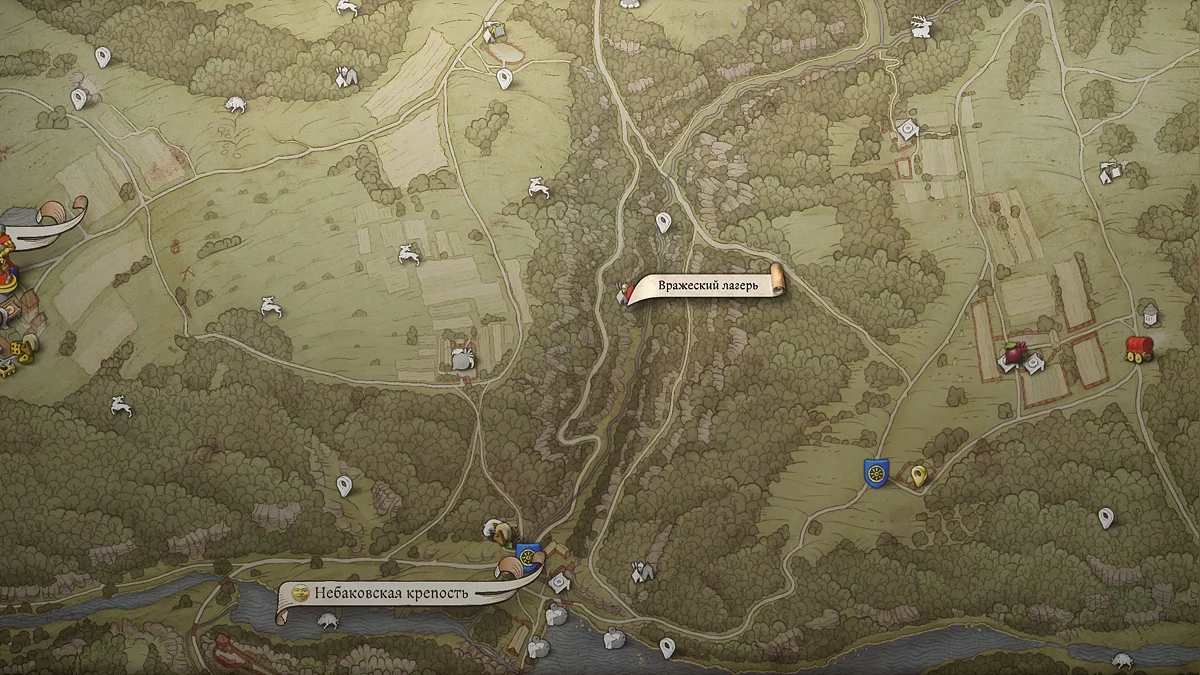
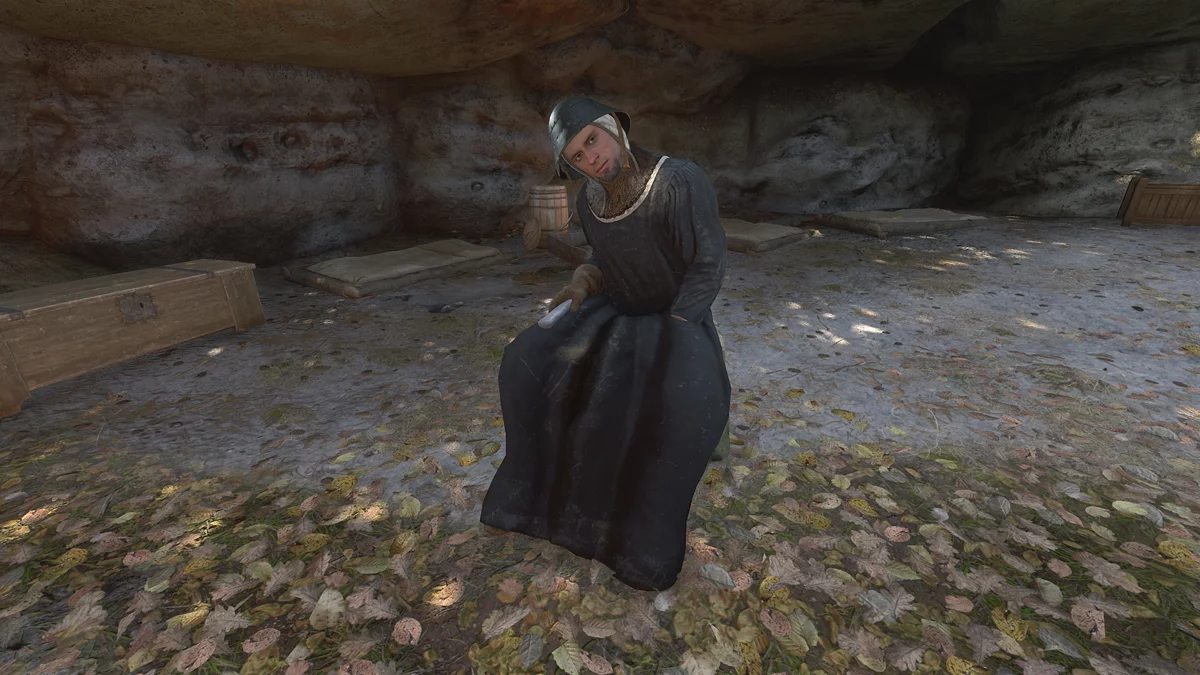
Head to the Nebakov Mill. To reach the bandit camp, move north along the stream. Along the way, you will encounter a man dressed in a monk's robe, pretending to be a beggar and asking for alms. However, be prepared for him to attack the hero along with other robbers if you decide to approach him.
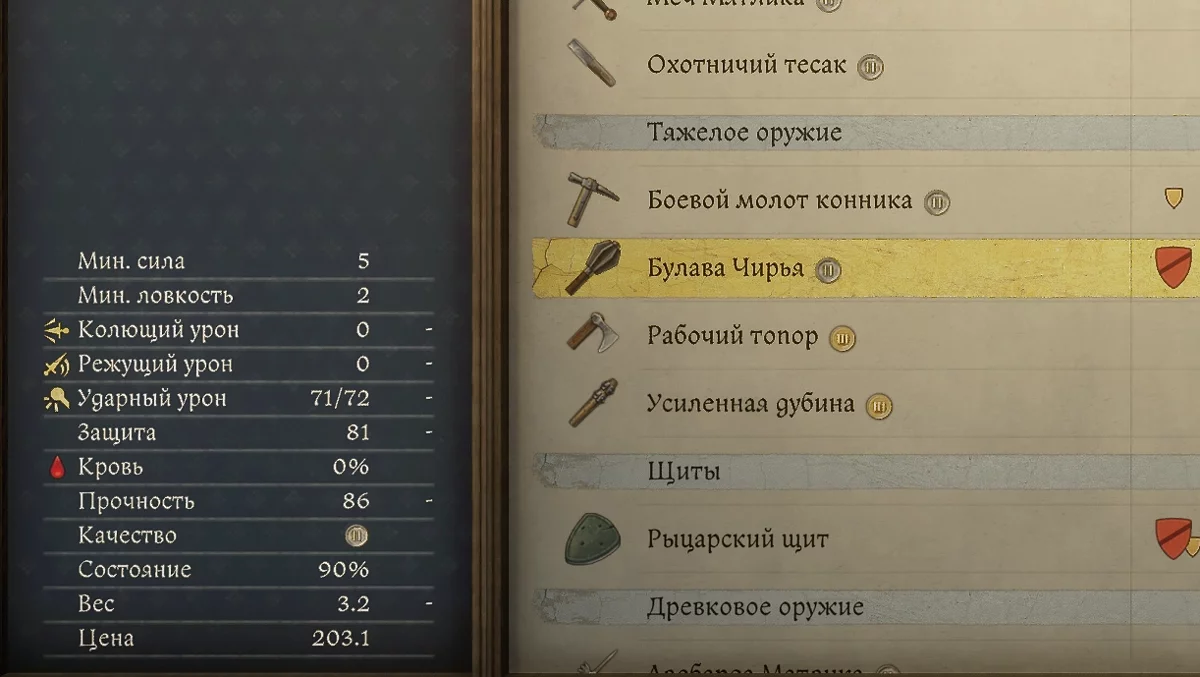
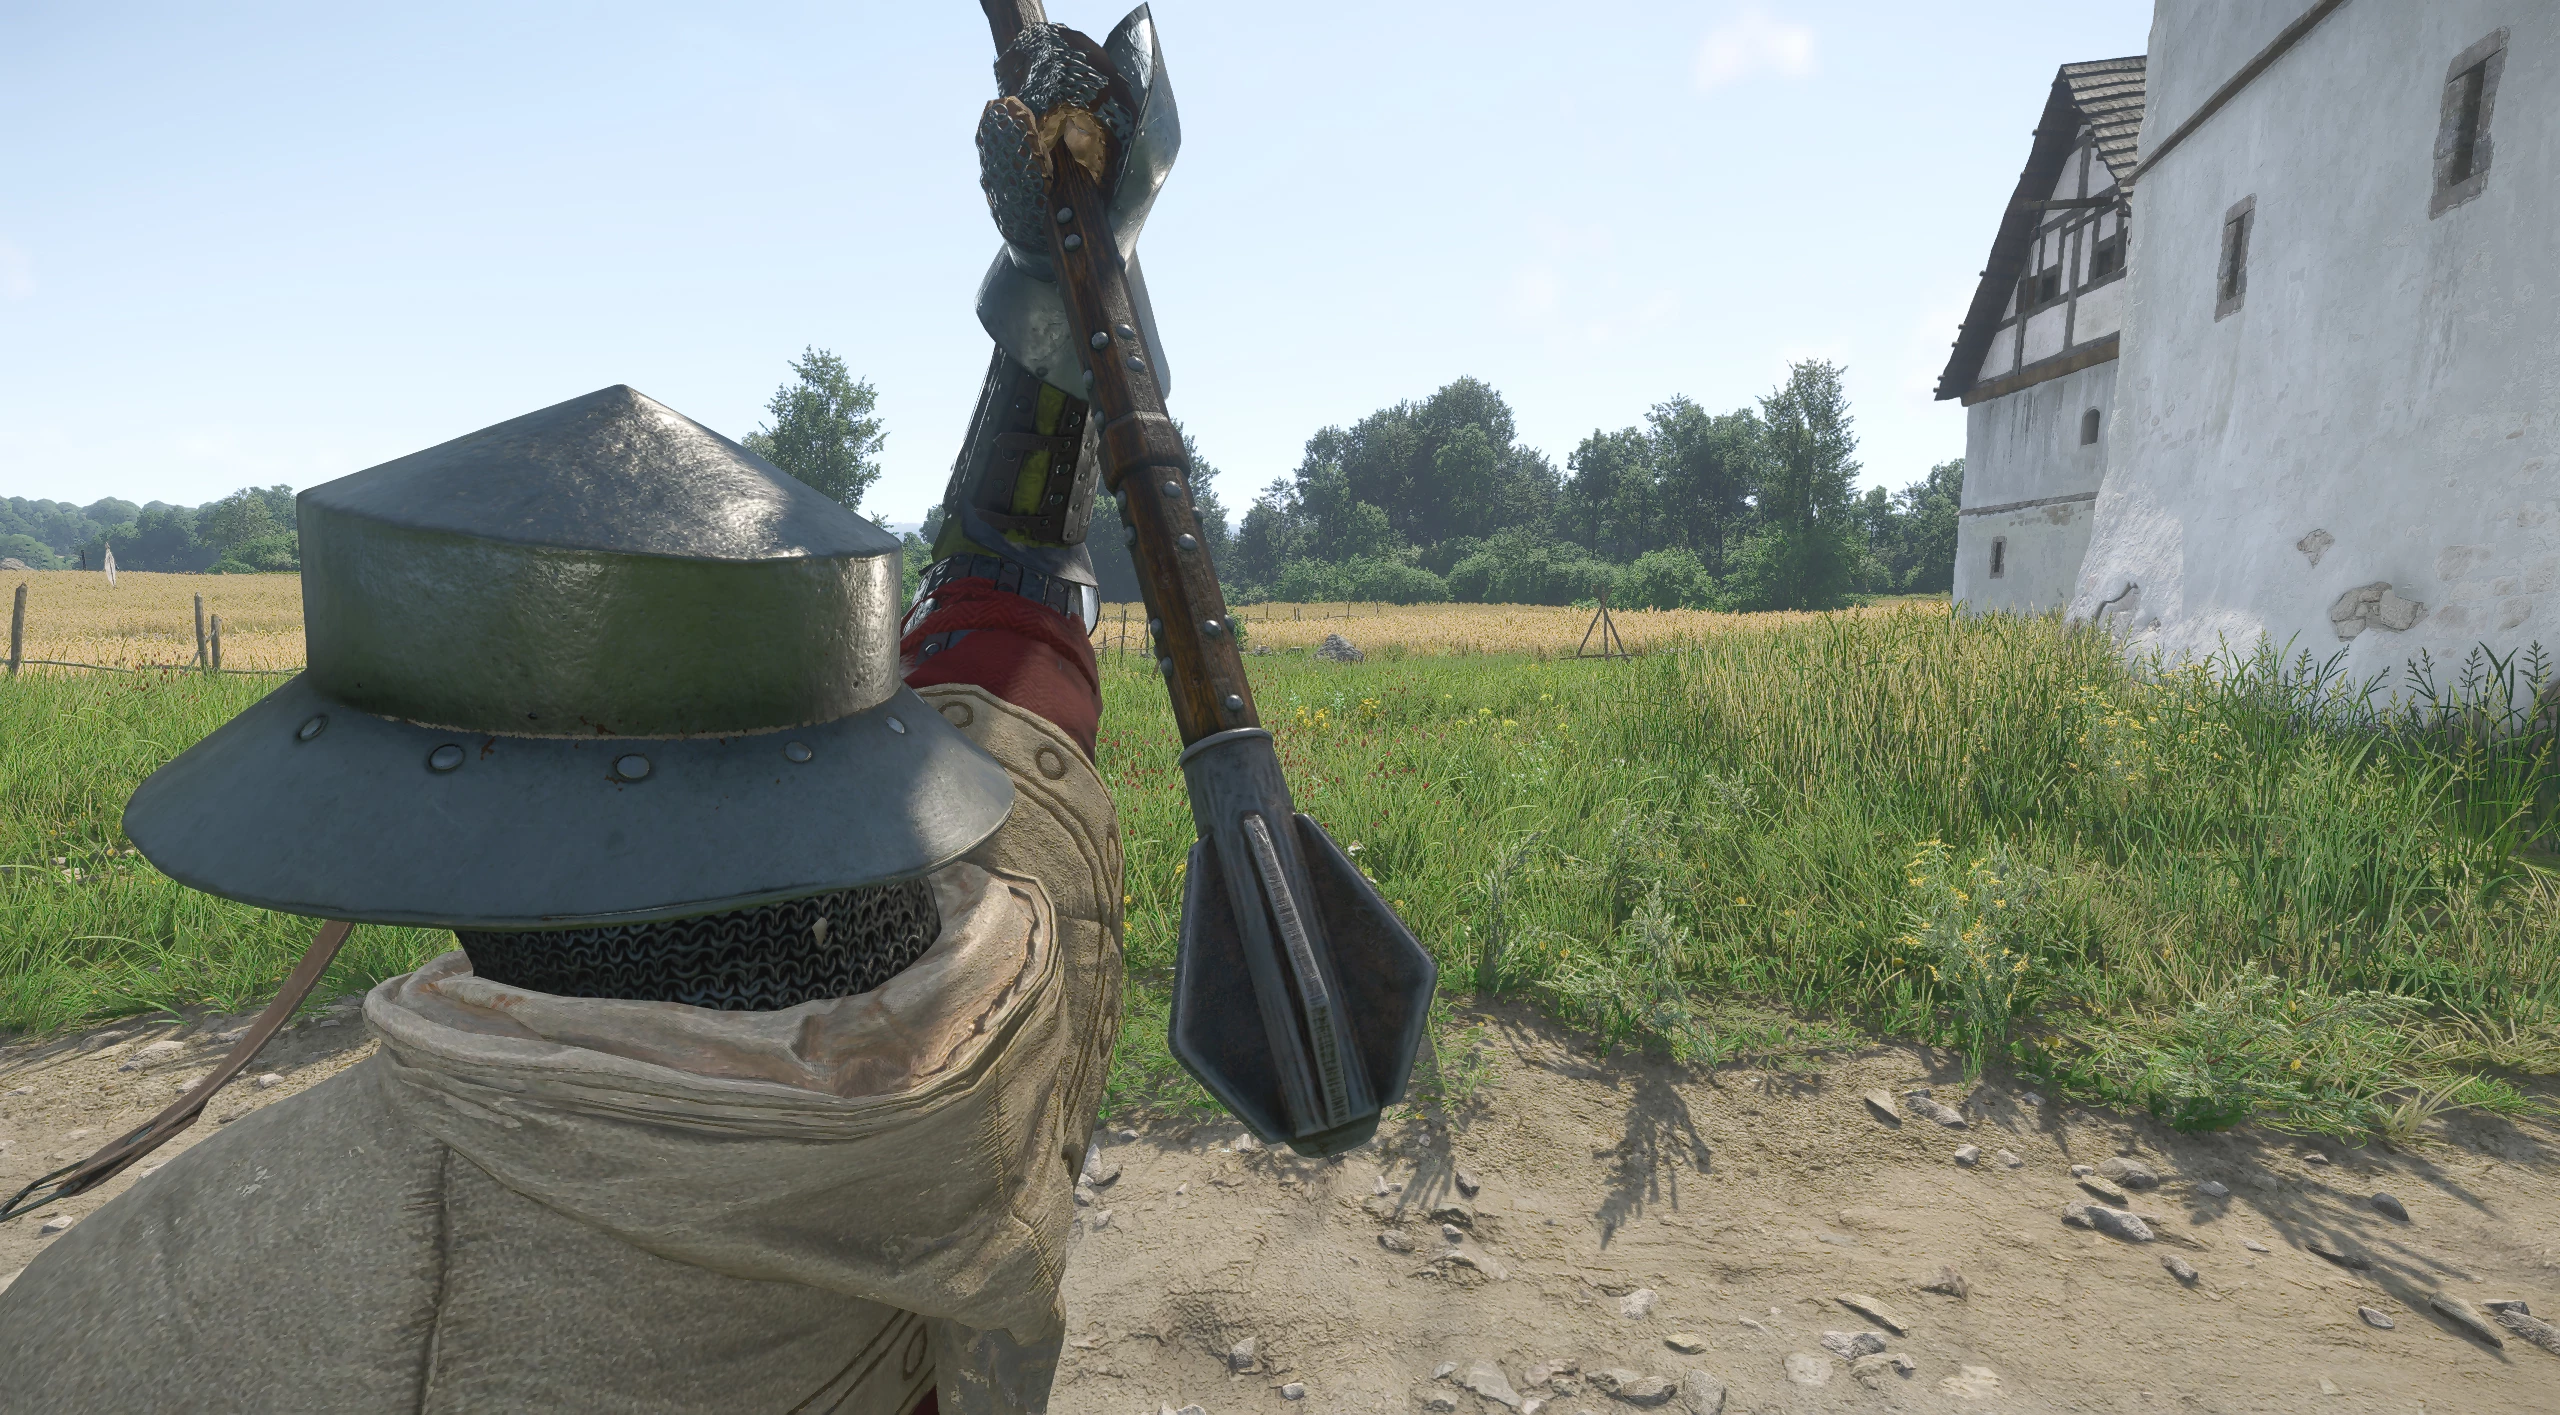
You will have to decide whether to try to pass unnoticed or attack first. In any case, the outcome of this encounter will not affect the quest's outcome, so act as you see fit. Continue along the stream, and the bandit camp will be on your right. In Canker's camp, you will face five enemies. It's best to attack at night when most of them are asleep. After victory, examine the chests in the camp — there you will find a recipe for the "Owl" potion, which helps you see in the dark. Also, don't forget to take Canker's mace from the ground — it will be needed to complete the quest.
Deliver Canker's Mace to Rudy
Return to the Semin castle to report to Rudy. Inform him of Canker's death and provide his mace as proof. The centurion will express gratitude for your efforts and reward you with a small sum of groschen. If you wish to keep the mace, Rudy will agree to let you have it without objection. At the early stages of the game, this weapon is one of the most effective in the heavy weapon category.
Wait a couple of days, then visit Centurion Rudy again in the Semin castle. He will give you a new task related to fighting robbers who continue to threaten peace in the region.
Next quest: Handsome Charlie.
Walkthrough of Side Quests in Kingdom Come: Deliverance 2
- Kingdom Come Deliverance 2: Mutt Walkthrough (How to Find the Dog)
- Kingdom Come Deliverance 2: Lackey Walkthrough
- Kingdom Come Deliverance 2: Bad Blood Walkthrough
- Kingdom Come Deliverance 2: Materia Prima Walkthrough
- Kingdom Come Deliverance 2: Forbidden Fruit Walkthrough
- Kingdom Come: Deliverance 2: Opus Magnum Walkthrough
- How to Find Armor by Maps in Kingdom Come Deliverance 2: The Lion's Crest Guide
- Kingdom Come Deliverance 2: Invaders Walkthrough
- Kingdom Come Deliverance 2: The Axe from the Lake Walkthrough
- Kingdom Come Deliverance 2: Mice Walkthrough
- Kingdom Come Deliverance 2: The Blacksmith's Son Walkthrough
- Kingdom Come Deliverance 2: The Jaunt Walkthrough
- Kingdom Come Deliverance 2: The Hermit Walkthrough
- Kingdom Come Deliverance 2: Miri Fajta Walkthrough
- Kingdom Come Deliverance 2: The Mouth of Hell Walkthrough
- Kingdom Come Deliverance 2: Bellatores Walkthrough
- Kingdom Come Deliverance 2: Skeleton in the Closet Walkthrough
- Kingdom Come Deliverance 2: Dragon's Lair Walkthrough
- Kingdom Come Deliverance 2: Canker Walkthrough
- Kingdom Come Deliverance 2: Handsome Charlie Walkthrough
- Kingdom Come Deliverance 2: Johnny the Gob Walkthrough
- Kingdom Come Deliverance 2: Casper Walkthrough
- Kingdom Come Deliverance 2: The White Roebuck Walkthrough
- Kingdom Come Deliverance 2: Hush, My Darling Walkthrough
- Kingdom Come Deliverance 2: Absolver Walkthrough
- Kingdom Come Deliverance 2: The Thunderstone Walkthrough
- Kingdom Come Deliverance 2: X Marks the Spot Walkthrough
- Kingdom Come Deliverance 2: Hammer and Tongs Walkthrough
- Kingdom Come Deliverance 2: Yackers 'n' Fash Walkthrough
- Kingdom Come Deliverance 2: Ransom Walkthrough
- Kingdom Come Deliverance 2: The Reliquary Walkthrough
- Kingdom Come Deliverance 2: Thou art but dust Walkthrough
- Kingdom Come Deliverance 2: Striped Tonies Walkthrough
- Kingdom Come Deliverance 2: Popinjay Shoot Walkthrough
- Kingdom Come Deliverance 2: Ars Dimicatoria Walkthrough
- Kingdom Come Deliverance 2: Arrow-head Walkthrough
- Kingdom Come Deliverance 2: In Vino Virilitas Walkthrough
- Kingdom Come Deliverance 2: Feast for the Poor Walkthrough
- Kingdom Come Deliverance 2: Spoils of War Walkthrough
- Kingdom Come Deliverance 2: Post Scriptum Walkthrough
- Kingdom Come Deliverance 2: The Thieves' Code Walkthrough
- Kingdom Come Deliverance 2: Troubadours Walkthrough
- Kingdom Come Deliverance 2: Bird of Prey Walkthrough
- Kingdom Come Deliverance 2: A Good Scrub Walkthrough
- Kingdom Come Deliverance 2: Ill Repute Walkthrough
- Kingdom Come Deliverance 2: The Spark Walkthrough
- Kingdom Come Deliverance 2: All's fair Walkthrough
- Kingdom Come Deliverance 2: Seeking Justice Walkthrough
Diğer kılavuzlar
- Krallığın Gelmesi: Kurtuluş 2 — İlham Kaynağı Görev Rehberi
- Krallığın Gelmesi: İkincisi: Sıkıntıdaki Kız Yürütme Kılavuzu
- Krallığın Gelmesi: Kurtuluş 2 — Chiaroscuro Görev Rehberi
- Ölümle Yüzleşmeler DLC'si Kingdom Come: Deliverance 2 — Tüm Görevleri Nasıl Başlatıp Tamamlayabilirsiniz
- Krallığın Gelmesi Teslimat 2: Son İrade Kılavuzu
- Krallığın Gelmesi: Eski Zamanlar Kılavuzu
- Krallığın Gelmesi: Trosky'nin Şeytanları Kılavuzu
- Krallığın Gelmesi: Deliverance 2: Attila Kılavuzu
- Krallığın Gelmesi: Kurtuluş 2 — Yüksek Geçiş Görevi Sorunlarını Düzeltme
- Krallığın Gelmesi: Mezarın Ötesinde Geçiş Rehberi